Metal Card Holder - How I Display Holiday Cards Without The Cluttered Mess
This post may contain affiliate links. This means if you click on the link and purchase
the item, I will receive an affiliate commission. More here: Disclaimer & Privacy Policy
Wondering how to display holiday cards without the chaos? This is the metal card holder I use throughout the year, and how I keep the constant influx of paper under control.
You know when it’s the winter season and your mailbox is flooded with holiday greeting cards? Or when Spring has sprung and so have all the baby announcements? Or the wave of Summer wedding invitations?
What do you do with all of that paper? It’s not junk mail, so you can’t immediately toss it. They’re not quite action items unless RSVPs are required, and they’re not things to file unless in some sort of dated tickler system.
These are things that people are inclined to display, even professional organizers like me. So the question is, how do you do that neatly?
Over the years I’ve seen and tried several different display methods, each one improving in functionality until I reached my current favorite solution. Here’s the evolution of my card display efforts and some other fun DIY ideas to try out.
There was the large mirror that used to be above the entryway table near the front door of our first apartment. Wall space was very limited, so I used to stick baby announcements, save-the-dates and so on in the little crack between the mirror and the actual frame.
That was functional for a while until there was a large influx of cards like during holiday season. I would end up stuffing cards in front of each other and/or trying to get them to stay in the sides and the top of the mirror…which ultimately didn’t work. They would fall repeatedly and that drove me nuts, so it was time for a new solution.
In the next apartment, I used heavy-duty magnets on the back of our front door. This proved to be a better system than the last. The increase in available space meant we could display more cards than before and show off our happy messages without stacking them.
Using the door was great, because it put these nice messages in sight and in mind and didn’t take up any wall space. However, this card organizing solution also found its limit. The combination of a large influx of cards and the door opening and closing so much, they started falling down and off.
That brings me to my current
card display method:
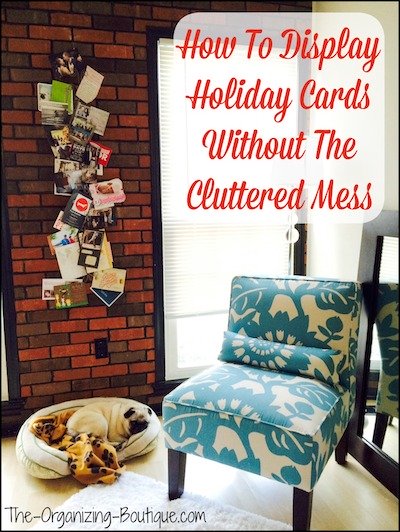
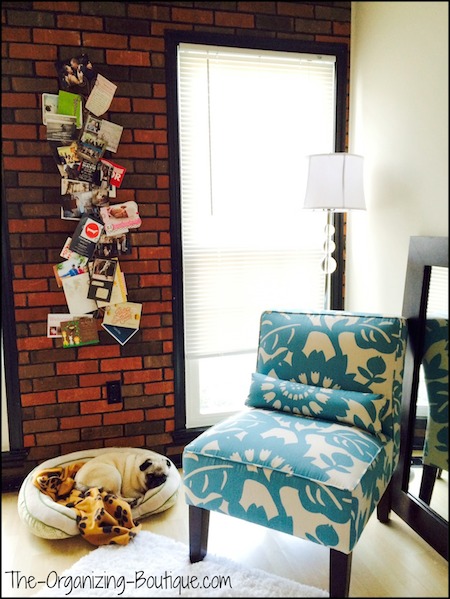
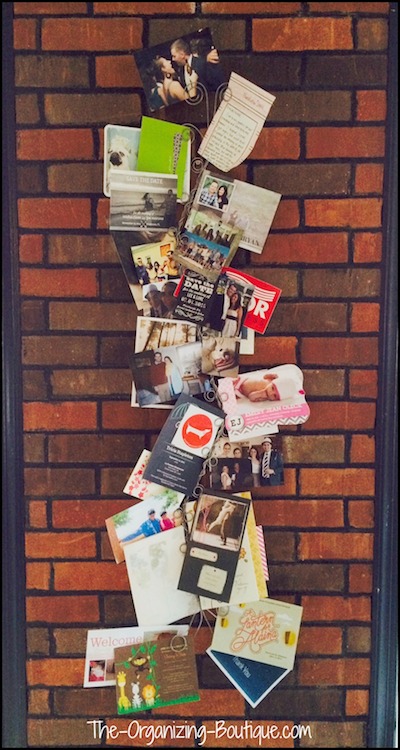
The Decorative Metal Card Holder
It does take up a sliver of wall space, but so far this is my
favorite solution. It is a decorative piece of metal that can be bent however
you like and then hung on the wall. It can comfortably hold 36 cards, but I’ve
definitely pushed it further than that without a problem.
I have a routine for keeping the metal card holder from getting too cluttered as well.
I use it to display all cards related to upcoming events like save-the-dates,
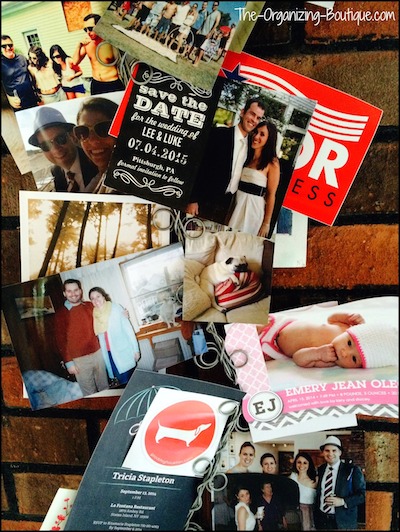
current well wishes like birthday cards and a few favorite and/or recent photos.
Now, it must be said that I like for the metal card holder to fill up. It’s one of the only places in my home that I like to be bursting at the seams. In fact, it might be THE only place.
It’s full of happiness –
upcoming weddings, baby announcements, photos of family, anniversary cards,
good memories – so why not let it blossom? And mine certainly does.
That said, there is a line.
Once I can’t fit any more cards
anywhere on this thing, I declutter it. This breaking point usually comes at
the end of a season; I’d say 3-4 times per year. I take everything out of the
metal card holder with the exception of a few things that stay there all year (e.g.
the photos) and go through them with my husband to decide what to keep.
We recycle almost everything, because it’s just too much
paper to hold onto. These are the things we display for a while and then let
go.
- Holiday cards
- Thank you notes
- Birthday cards
- Anniversary cards (from others, not from each other)
Here are some of the things we do keep and store in a memory box.
- Wedding invitations for close family and friends
- Baby announcements for close family and friends
- Unique holiday cards (like the ones that are really, really funny or the interfaith ones)
- Personal, hand-written notes
- Birthday cards with Pugs on them (one of my soft spots)
- Anniversary cards my husband and I give each other
Alright, so now you know the card displaying secrets of a professional organizer. Let’s take action.
Are your current card displaying efforts working? Could they use some improvement like mine did? Here’s what to do.
First, this is a photo of a metal card holder very similar to mine that I found on Pinterest, if you’re interested in implementing something like I did. Speaking of Pinterest, that leads me to the next step.
Second, let’s do some fun research and I’ve made it even easier for you. I got so excited about this post that I created a Pinterest board full of card displaying ideas. If you want to take a look around to see some options, check out this board.
For example, there are ideas
like hanging holidays cards on a Christmas tree or making a holiday card wreath
out of cardboard or repurposing a window shutter as a card holder. See these examples in action here!
Third, choose a card displaying option that fits your space and your style. If you have wall space, then go with something that can be hung up. If you love to make things yourself, then go with a DIY option. Whatever you decide, pick something that you know you can and will implement.
Fourth, implement it. Whether you decide to buy a metal card holder like mine or repurpose a window shutter, do what you need to do to get it into your home and ready for displaying cards (e.g. buy it, repurpose it, make it from scratch, hang it on the wall). Now you’re good to go.
Happy organizing and happy holidays!






Facebook Comments