Under Sink Storage & Under Sink Organizers In The Kitchen
This post may contain affiliate links. This means if you click on the link and purchase
the item, I will receive an affiliate commission. More here: Disclaimer & Privacy Policy

The under sink storage area in the kitchen can become a cluttered mess very quickly. It's understandable, because it's usually an awkward space that you have to kneel or bend down in order to access.
Below you'll find instructions on how to organize the under sink area in the kitchen and some great under sink organizers using before and after photos from my own home! As a professional organizer, I practice what I preach and I want to show you that in detail. Happy organizing and enjoy!
My Under Sink Storage Area Before
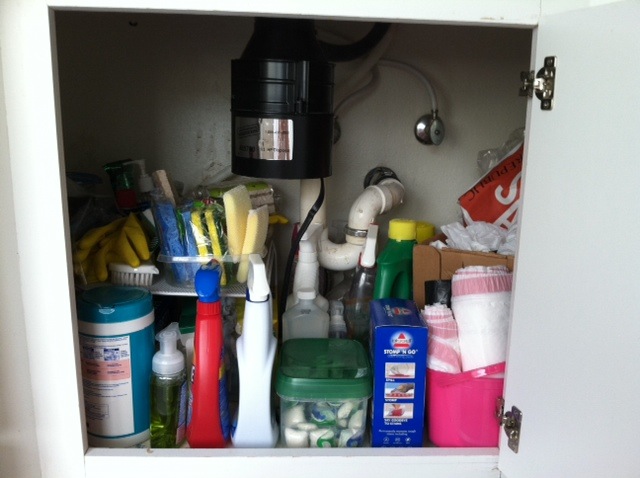
This is what the under sink storage cabinet in my kitchen looked like. It's important to note that it didn't always look like this! Yes, I'm a professional organizer, but life happens at my house too...and gladly so. :)
Remember, organization does NOT equal perfection. I call this the Junk Drawer Theory, and in my opinion, it's a very "human" way of viewing how one should be organized.
Okay, back to the area under my kitchen sink. It was quite organized; you can see the sponges gathered in a Tupperware bottom, the garbage bags in a pink bucket, etc. However, this cabinet gets used by people other than me - my husband and the cleaning ladies - and naturally stuff gets a little messy.
Additionally, my mom makes trips to Costco resulting in an over abundance of things like the huge roll of garbage bags in the pink bucket that I've been working through for a long time. That adds to the amount of items we have and also contributes to what looks like an exploding under sink cabinet.
While the cabinet stayed fairly organized and I could easily reach the things in front, it came to my attention that was the problem...I could only reach the items in front with ease. Thus, I decided to take the advice I usually give to my clients (being organized means you are doing frequent maintenance and tweaking systems that don't work anymore) and reorganize this cabinet...
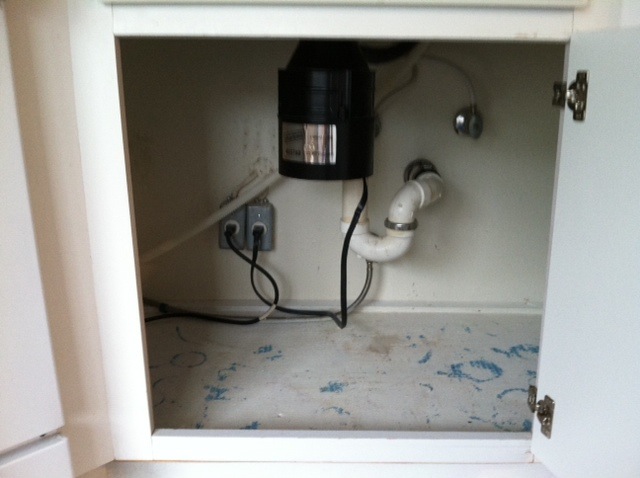
The first thing I did was empty the cabinet of all of it contents and gave it a good wipe down.
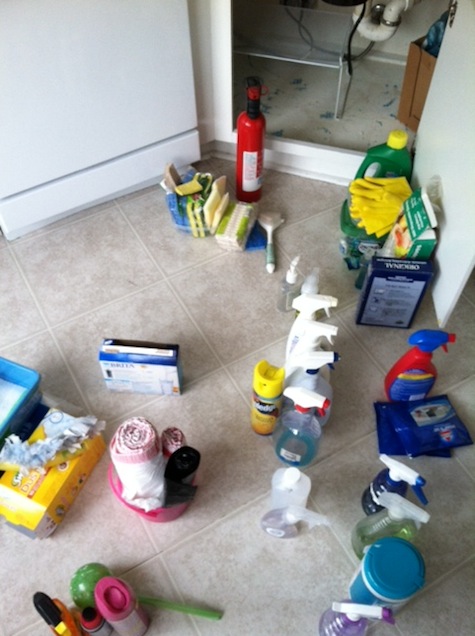
The next thing I did was go through the items and sort them into categories by likeness (i.e. pet cleaning products, multipurpose cleaners, gloves, sponges, etc.).
As I did this, I pared down...
- I got rid of anything that wasn't usable anymore (i.e. empty, broken, etc.).
- I found items that belonged elsewhere in my apartment, so I distributed them to their proper homes.
- I took items out of bulky packaging (you'll see an example of this below - the dishwasher detergent packets).
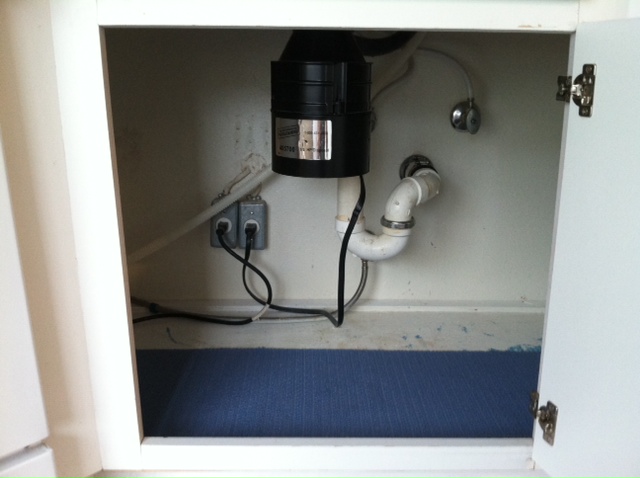
Then I put down a shelf liner to cover up the worn wood on the bottom of the cabinet. (Since we currently rent, all of the organizing and design solutions in our home are easily removable.)
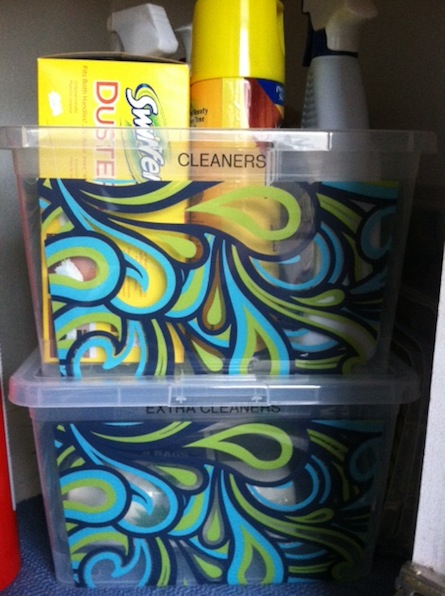
Next, I put the sorted items into containers according to size and how often the things get used and labeled everything. FYI - I purchased these pretty plastic bins from Michaels, and they were 40% percent off! I love a good bargain.
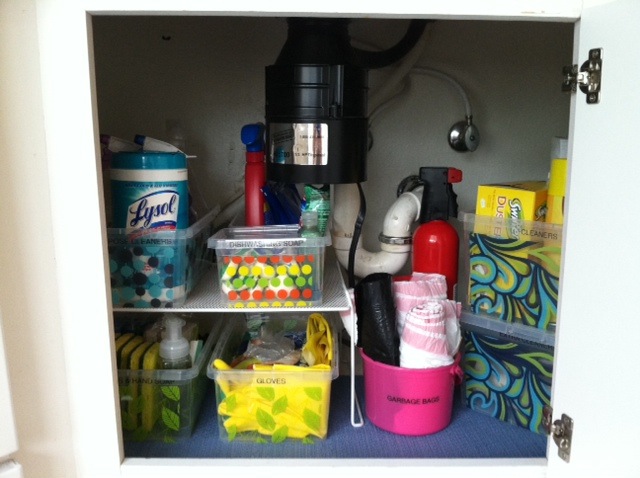
As you can see in the photo above, the cleaning products that are not as frequently-used were put into a lidded bin labeled "EXTRA CLEANERS" underneath the open container of cleaning items that are utilized more often. It's very easy to reach into the open bin, grab what I need and then also effortlessly put it back.
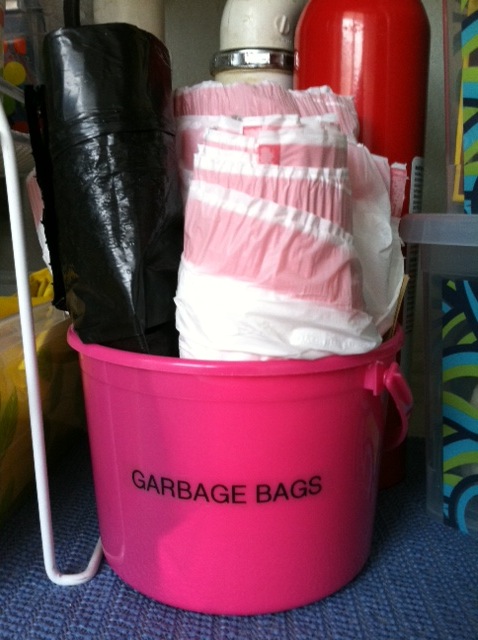
I left the garbage bags in this pink bucket, since they fit so well and are easy to access. I labeled it accordingly and voila. Remember, you don't have to spend a lot of money to get organized. You can reuse items that are already in your house.
Small side note about me: I'm usually not a pink person. However, this bucket was part of a prize that Brisket (my Pug) was awarded when she won the "Smallest Pug" award at the Pugs for Pinky event. When I see this bucket, it makes me happy so I incorporated it.
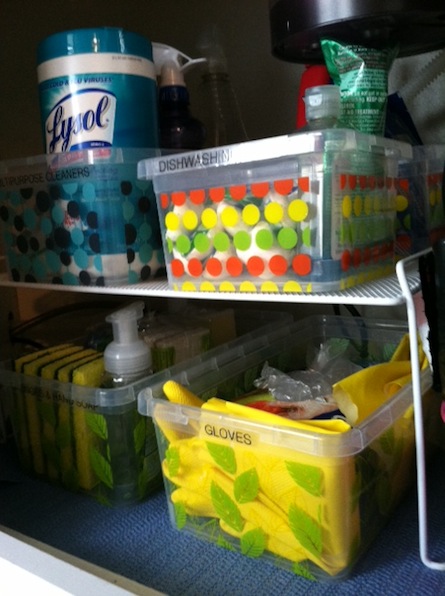
Again, I put the categories of items in containers according to how much I had. I also used a cabinet shelf to maximize the vertical space this cupboard provides (one of my favorite kitchen storage ideas when organizing kitchen cabinets).
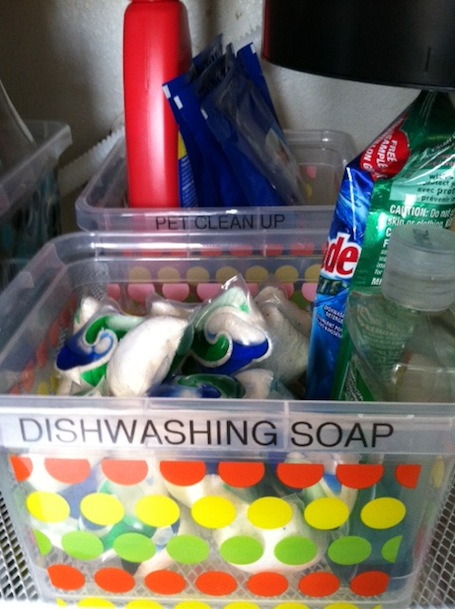
As you can see in the photo above, I used small containers accordingly. I took the dishwasher detergent packets out of their bulky packaging and put them directly in the "DISHWASHING SOAP" bin in front. This makes it very simple for me to grab what I need in a snap.
The "PET CLEAN UP" bin is in the back, because I don't use those items as much and it's still much more accessible than it was before.
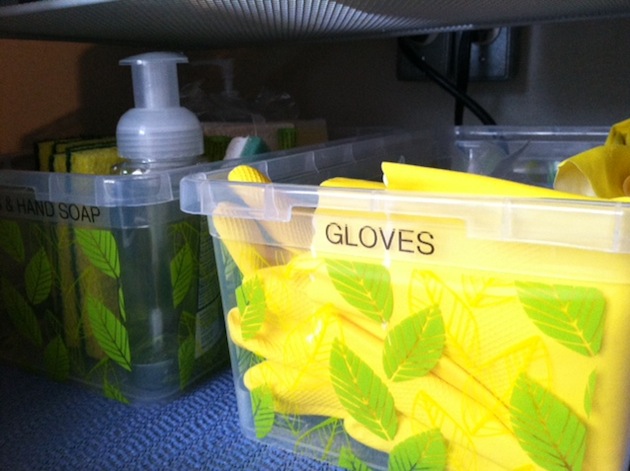
These 2 bins are underneath the cabinet shelf - one for gloves and the other for sponges and hand soap. They are both very accessible.
This organizing project took me less than an hour to complete, but you can see below the huge difference it makes. Here are the before and after photos!
MY UNDER SINK STORAGE AREA BEFORE
MY UNDER SINK STORAGE AREA AFTER


Facebook Comments