Makeup Storage Drawers Spiffed Up With Washi Tape
This post may contain affiliate links. This means if you click on the link and purchase
the item, I will receive an affiliate commission. More here: Disclaimer & Privacy Policy
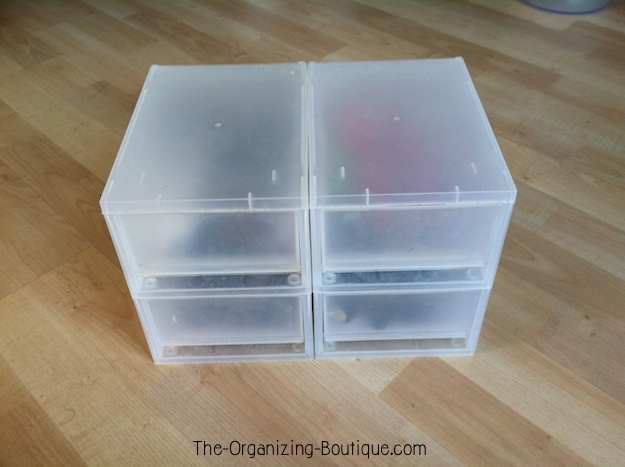
I love my makeup storage drawers. They are the 2-drawer translucent chests that I purchased from The Container Store a number of years ago, and they are still going strong!
I decided to spiff them up a bit with Washi tape after I saw this beautiful blog post from the I Heart Organizing website. Here's the easy DIY transformation of my makeup storage drawers. Happy organizing!
Easy DIY Decoration For Makeup Storage Drawers Using Washi Tape
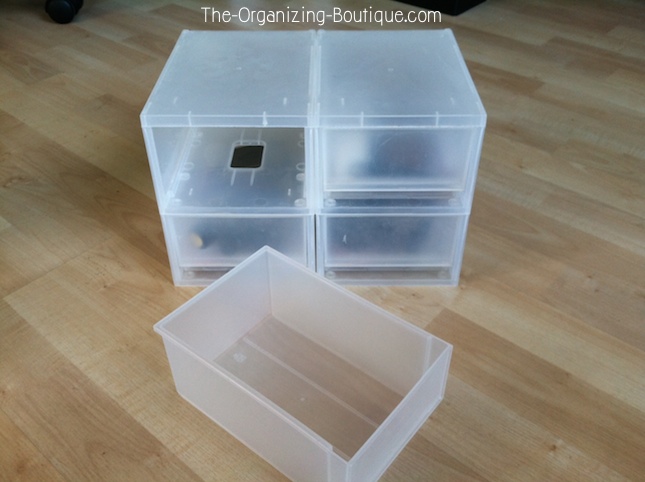
These are the 2 translucent chests that sit side by side in my tiny bathroom on top of the toilet tank. They are durable and match any decor, and they've proven both those points move after move after move. Okay, is it clear how much I adore them?! :)
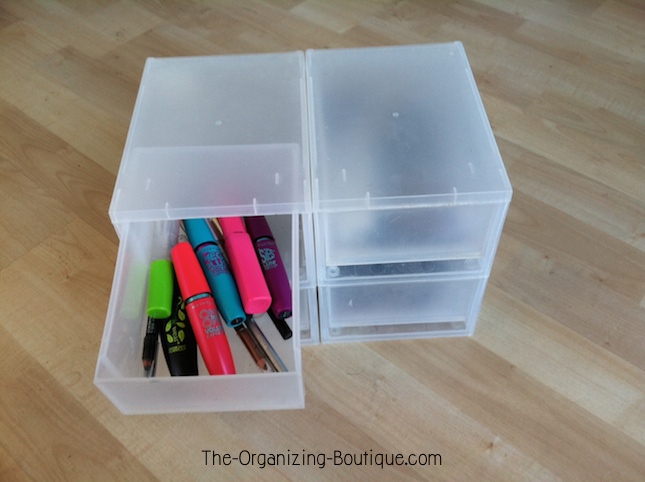
Let's start with the top left drawer that houses my mascaras and eye liners.
First, I emptied the drawer and pitched any items that were no longer usable.
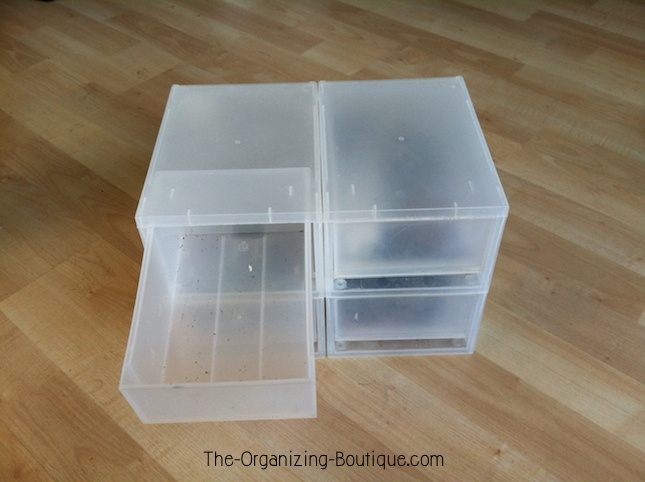
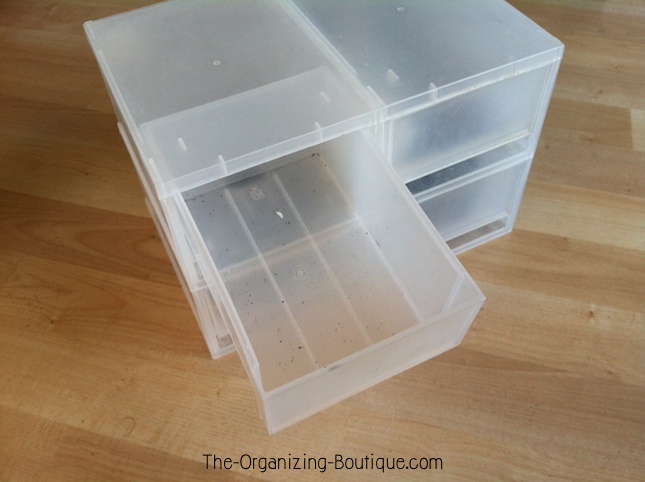
With a closer look, you can see the drawer was marked up so I gave it a good wipe down and then let it dry.
So this is what the drawer looks like clean, dry and empty.
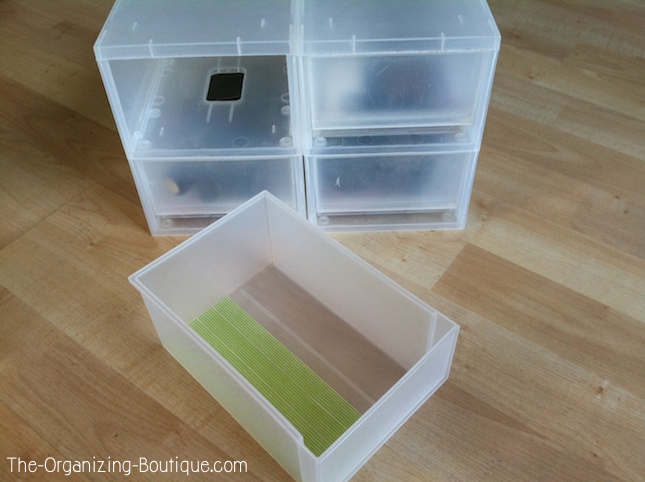
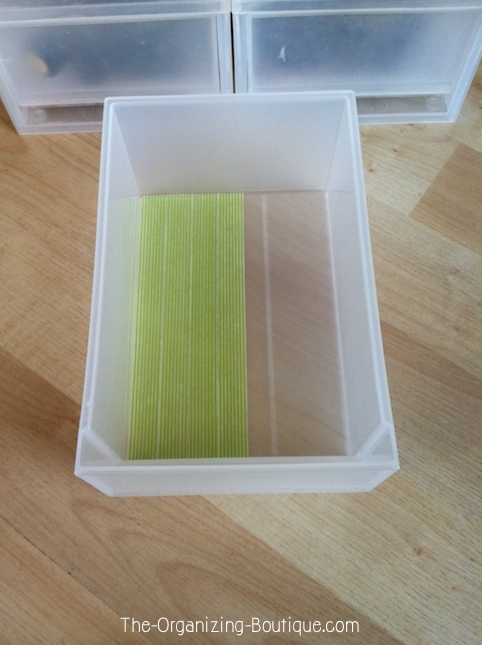
Next I started to apply strips of Washi tape to the bottom of the drawer.
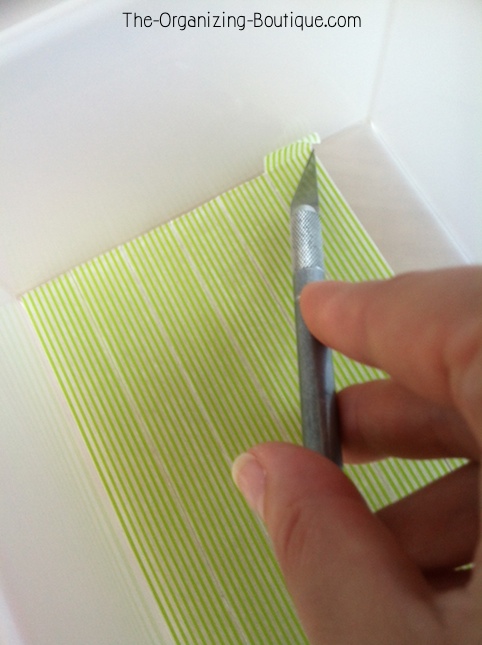
I carefully placed each strip of tape side by side and then cut the excess off with an X-acto knife.
Here's a close up of how I trimmed the excess pieces off.
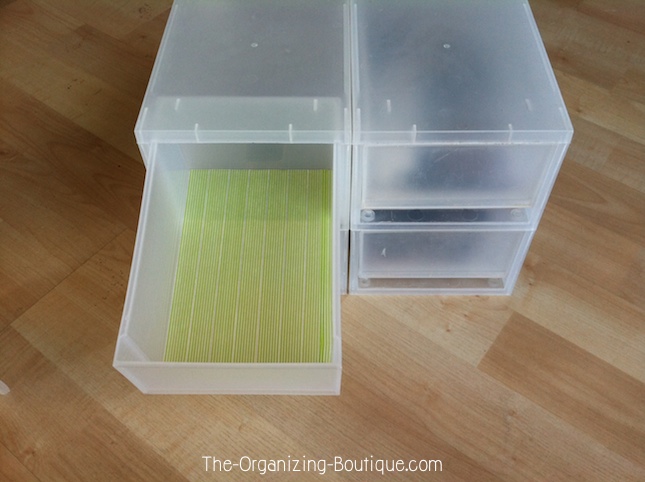
Voila! Here's the drawer completely covered with the Washi tape. It looks so pretty!
Then I started putting back in the mascaras that I was going to keep.
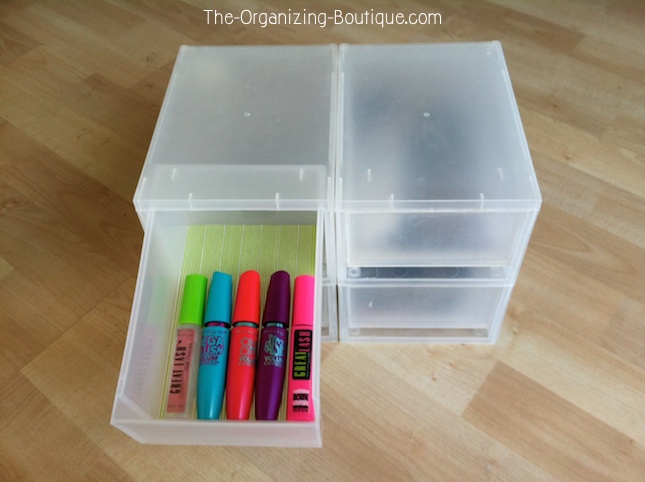
Here's a close up midway through putting all of them back in.
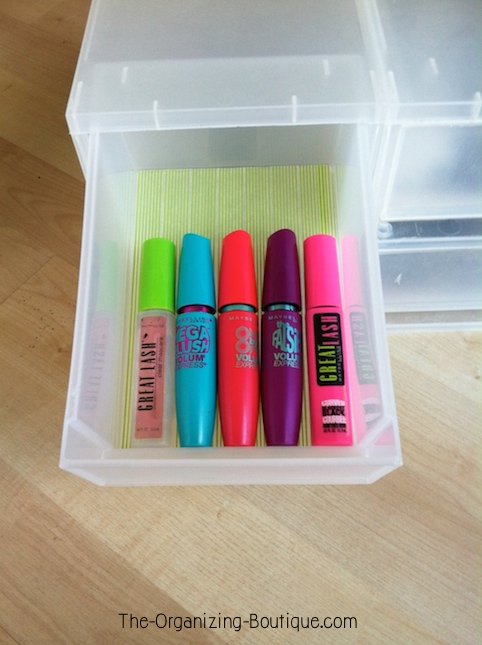
This is what it looks like with all of the items I decided to keep back in the drawer.
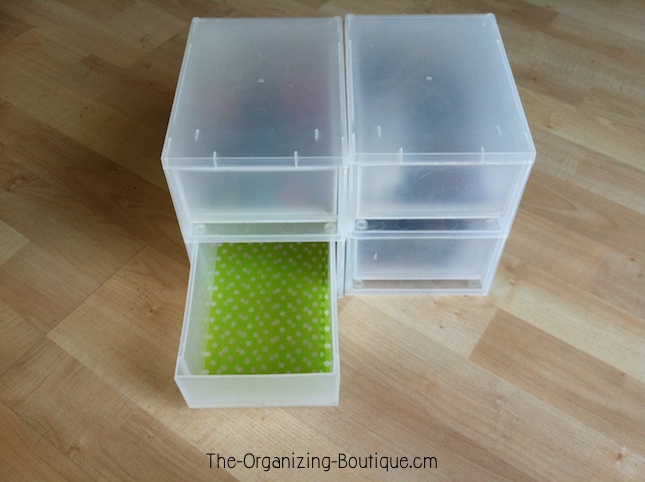
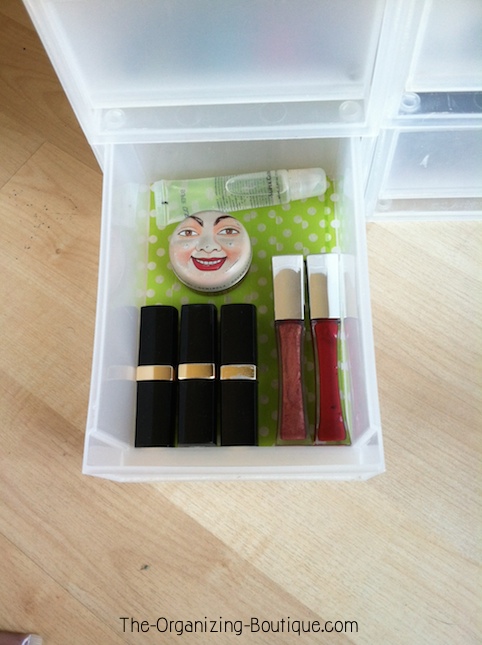
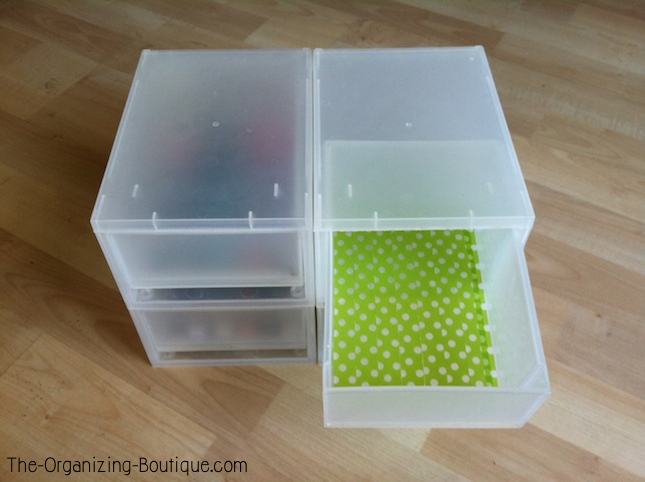
Moving on to the next drawer...the lipsticks. I repeated the steps above and emptied, decluttered, wiped and dried the drawer. Then I covered the bottom with Washi tape (this time polka dots instead of stripes).
Then I put the contents I decided to keep back in and poof! Another beautiful makeup organization transformation.
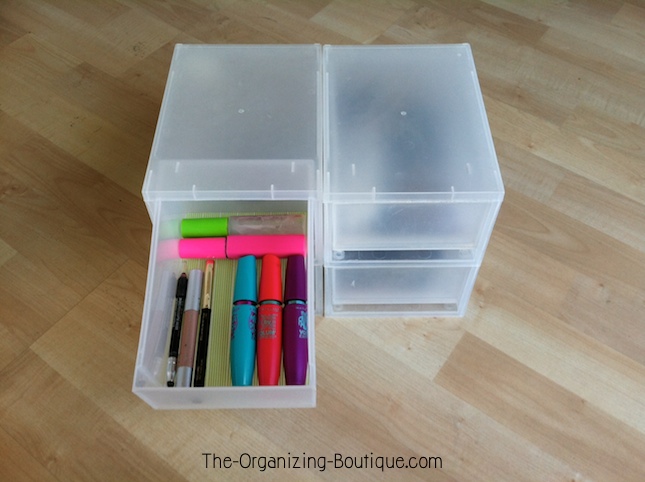
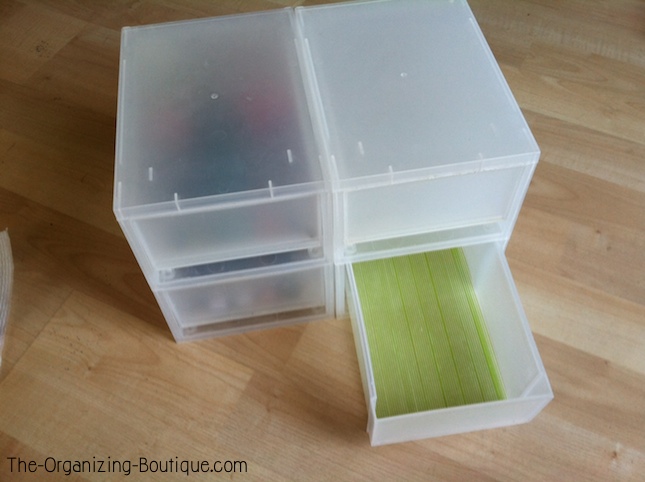
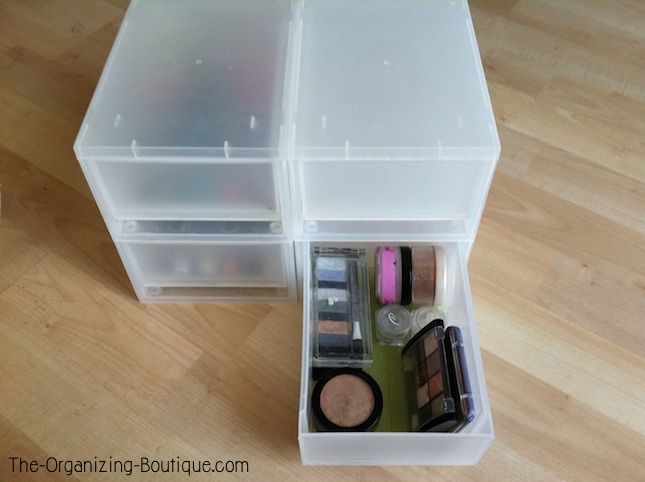
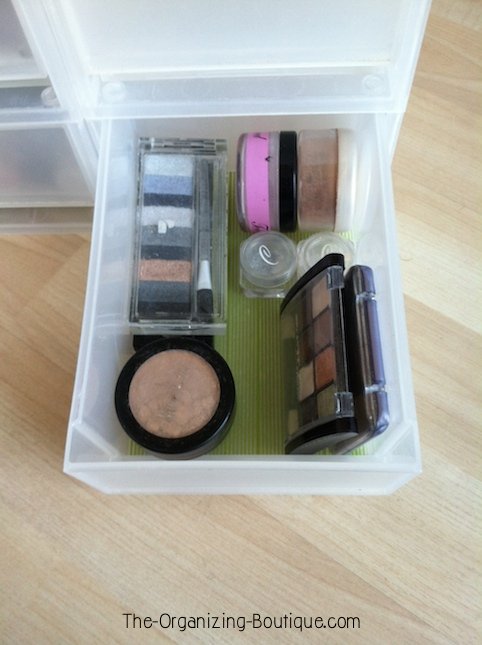
The next drawer I tackled was the one that stores the eye shadows and blushes. Again, I repeated the process above and emptied, decluttered, wiped and dried the drawer. I covered the bottom of this one with the original green-striped Washi tape.
Then I put back the drawer's contents, and this is what it looks like now.
Here's a close up view.
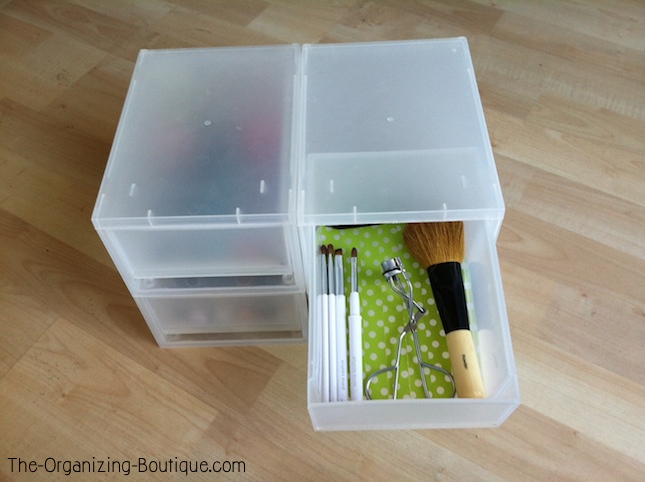
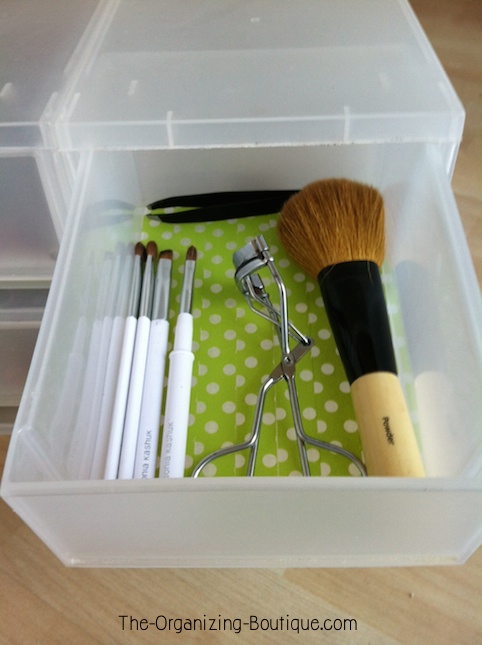
Finally, I gave the tool drawer a makeover. I emptied, decluttered, wiped and dried the drawer. Then I put down the polka-dotted Washi tape on the bottom.
Then I put back its contents and here's what it looks like.
Here's a close up view.
I hope you enjoyed seeing this ridiculously easy DIY transformation of my makeup storage drawers using only a bit of Washi tape. If I can do it, you can do it!
It's amazing what a little inspiration and some Washi tape can do to brighten up your day. If you liked this, check out how I gave my office drawers a face lift using blue chevron Washi tape. Take a peek at this page if you'd like to learn more about how to organize makeup and makeup storage ideas.



Facebook Comments